How to Edit Automatic Captions on YouTube
How to Edit Automatic Captions on YouTube
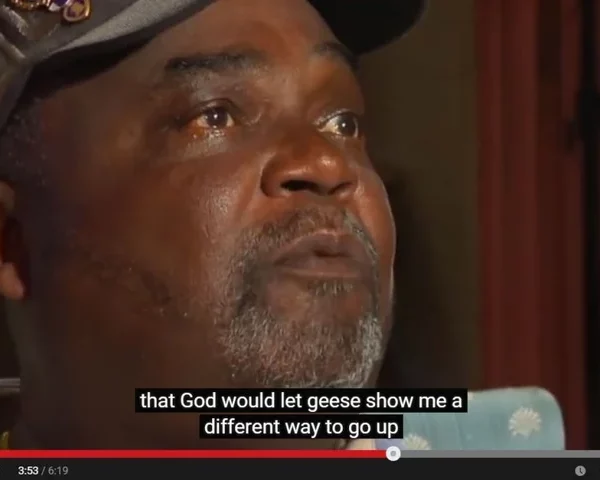
YouTube offers content creators auto-generated captions for their videos. These captions are a great step in the right direction for global accessibility, however, because the auto-captions are completely computer generated with no human intervention, there are often many errors.
These errors can make a video indecipherable, misleading and difficult to follow for deaf and hard-of-hearing viewers. What auto captions do offer is a head start with making your own caption file. While auto captions provide limited accessibility, properly proofread captions ensure everyone has access to the video.
Below is a step-by-step guide on how to edit YouTube’s auto-generated captions to get you started.
Here’s a quick guide on how to edit YouTube auto-captions:
1. Go to the Video Manager on your YouTube channel and find the video you would like to edit.
2. Click the down arrow next to the video and select Subtitles & CC.
3. Click the option called English (Automatic).
4. Click Edit in the top right-hand corner

5. You can now edit your captions and adjust the timing.
6. Once you have finished editing, click Publish Edits.
You now have closed captions for your video. Happy captioning!

